Hosting your own Harbor registry on Ubuntu 24.04
What is Harbor?
Harbor is an open-source cloud native registry, which can store, sign and scan container images. It possesses features like image vulnerability scanning, role-based access control, and image replication across multiple registries, including ACR, ECR and GCR registries.
I utilize a basic implementation of Harbor for personal projects and sandboxing scenarios, and thought it would be worth sharing how I got it up and running on a Ubuntu 24.04 instance.
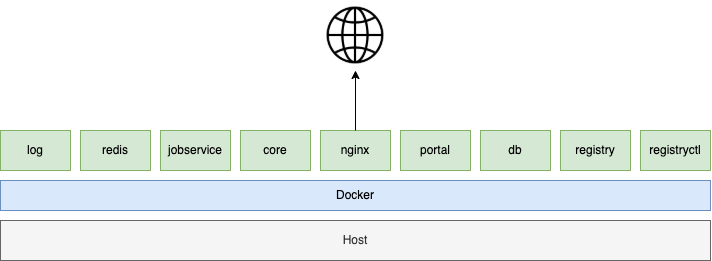
A high-level overview of what Harbor looks like under the hood and what we shall be implementing.
Prerequisites
1. Hardware
It’s worth noting, whilst Harbor has the following hardware requirements, I have been running my development Harbor instance without any issues on an Azure Virtual Machine with a Standard B1s (1 CPU, 1 GB, 30GB) SKU, however I will state my usage pattern is very small.
| Resource | Minimum | Recommended |
|---|---|---|
| CPU | 2 CPU | 4 CPU |
| Mem | 4 GB | 8 GB |
| Disk | 40 GB | 160 GB |
2. Docker
Harbor requires the Docker engine and Docker compose plugin installed. Running the below will install them and there related tools and verify both are installed correctly.
1
2
3
4
5
6
7
8
9
10
11
12
13
14
15
16
17
18
19
# Add Docker's official GPG key:
sudo apt-get update
sudo apt-get install ca-certificates curl
sudo install -m 0755 -d /etc/apt/keyrings
sudo curl -fsSL https://download.docker.com/linux/ubuntu/gpg -o /etc/apt/keyrings/docker.asc
sudo chmod a+r /etc/apt/keyrings/docker.asc

# Add the repository to Apt sources:
echo \
  "deb [arch=$(dpkg --print-architecture) signed-by=/etc/apt/keyrings/docker.asc] https://download.docker.com/linux/ubuntu \
  $(. /etc/os-release && echo "$VERSION_CODENAME") stable" | \
  sudo tee /etc/apt/sources.list.d/docker.list > /dev/null
sudo apt-get update

# Install docker and the plugin
sudo apt-get install docker-ce docker-ce-cli containerd.io docker-buildx-plugin docker-compose-plugin

# Check both are installed corrected
docker -v && docker compose version
3. Networking
Next, we need to allow the following ports and protocol by default. As I’m hosting my Harbor instance in Azure, I’ll permit these on my network security group accordingly.
| Port | Protocol | Description |
|---|---|---|
| 443 | HTTPS | Harbor portal and core API accept HTTPS requests on this port. You can change this port in the configuration file. |
| 4443 | HTTPS | Connections to the Docker Content Trust service for Harbor. Only required if Notary is enabled. You can change this port in the configuration file. |
| 80 | HTTP | Harbor portal and core API accept HTTP requests on this port. You can change this port in the configuration file. |
4. Certbot
To serve our Harbor instance over HTTPS, we will utilize a Let’s Encrypt SSL certicate.
Before generating our certificate, we need to configure our DNS to point at our Harbor instance. Once our DNS is configured, you can install certbot and follow the certbots prompts to generate a standalone certificate.
1
2
3
4
5
6
7
8
9
10
11
12
13
14
15
16
17
18
# Check DNS has propagated
jack@demo:~$ nslookup harbor-demo.itsjack.cloud
Server:		127.0.0.53
Address:	127.0.0.53#53

Non-authoritative answer:
Name:	harbor-demo.itsjack.cloud
Address: 20.108.32.47

# Install certbot
sudo snap install --classic certbot

# Ensure that the certbot command can be run.
sudo ln -s /snap/bin/certbot /usr/bin/certbot

# Generate a standalone cert (ensure DNS is configured)
# Follow certbot prompts
sudo certbot certonly --standalone
Great! We now have our certificate. Ensure you make a note of the certificate and key paths, we will need these later when configuring Harbor.
1
2
3
4
5
6
Successfully received certificate.
Certificate is saved at: /etc/letsencrypt/live/harbor-demo.itsjack.cloud/fullchain.pem
Key is saved at:         /etc/letsencrypt/live/harbor-demo.itsjack.cloud/privkey.pem
This certificate expires on 2025-03-24.
These files will be updated when the certificate renews.
Certbot has set up a scheduled task to automatically renew this certificate in the background.
Harbor Installation & Configuration
Now we’ve configured the prerequisites, it’s time to download the Harbor installer.
The installer comes with two installation options, offline and online, we will be using the online one. The online installer downloads the images from Docker hub upon creation, where as the offline installer can be used in scenarios where the host does not have outbound connectivity.
As of writing, the most up to date version is 2.11.2 so I will be using that. However, you can find the most recent release here.
1
2
3
4
5
6
7
8
9
10
11
# Download release
wget https://github.com/goharbor/harbor/releases/download/v2.11.2/harbor-online-installer-v2.11.2.tgz

# Use tar to extract the installer
tar xzvf harbor-online-installer-v2.11.2.tgz

# Remove the installer
rm harbor-online-installer-v2.11.2.tgz

# Change into the harbor directory
cd harbor
Now we have the installer, we need to go about configuring it. This is done using the harbor.yml file and install.sh script. The parameters set in harbor.yml are used to install or reconfigure Harbor using the install.sh script.
1
2
3
4
5
6
7
8
# Ensure you're still in the harbor directory
pwd

# Copy the template
cp harbor.yml.tmpl harbor.yml

# Edit the harbor.yml file
vim harbor.yml
To get a basic up and running instance, we will want to change three parameters.
- hostname: I will change this to my DNS A record, harbor-demo.itsjack.cloud
- https:certificate: The path of my fullchain.pem file exported by certbot.
- https:private_key: The path of my privkey.pem file exported by certbot.
You may also want to optionally configure the ‘harbor_admin_password’ parameter.
- harbor_admin_password: Although not explicitly required, by default this is ‘Harbor12345’. You can change this within Harbor as soon as it launches.
1
2
3
4
5
6
7
8
9
10
11
12
13
14
15
16
17
18
19
20
21
# Configuration file of Harbor

# The IP address or hostname to access admin UI and registry service.
# DO NOT use localhost or 127.0.0.1, because Harbor needs to be accessed by external clients.
hostname: harbor-demo.itsjack.cloud

# http related config
http:
  # port for http, default is 80. If https enabled, this port will redirect to https port
  port: 80

# https related config
https:
  # https port for harbor, default is 443
  port: 443
  # The path of cert and key files for nginx
  certificate: /etc/letsencrypt/live/harbor-demo.itsjack.cloud/fullchain.pem
  private_key: /etc/letsencrypt/live/harbor-demo.itsjack.cloud/privkey.pem
  # enable strong ssl ciphers (default: false)
  # strong_ssl_ciphers: false
Now once you have configured your harbor.yml file, you can start your Harbor instance by invoking the install.sh script.
1
2
3
4
5
6
7
8
9
10
11
12
13
14
15
16
jack@demo:~/harbor$ sudo bash install.sh
.........
<REDACTED>
.........
[+] Running 10/10
 ✔ Network harbor_harbor        Created                                                                                                                                         0.1s
 ✔ Container harbor-log         Started                                                                                                                                         1.3s
 ✔ Container harbor-db          Started                                                                                                                                         2.9s
 ✔ Container harbor-portal      Started                                                                                                                                         2.9s
 ✔ Container redis              Started                                                                                                                                         2.9s
 ✔ Container registryctl        Started                                                                                                                                         2.9s
 ✔ Container registry           Started                                                                                                                                         2.9s
 ✔ Container harbor-core        Started                                                                                                                                         3.5s
 ✔ Container harbor-jobservice  Started                                                                                                                                         5.1s
 ✔ Container nginx              Started                                                                                                                                         5.1s
✔ ----Harbor has been installed and started successfully.----
We can see the script has informed us Harbor has started and running successfully. We can now navigate to our Harbor instance and login, the default username being admin and the initial password is Harbor12345, unless you explicitly configured in the harbor_admin_password parameter earlier.
⚠️ If you do use the default password, ensure you change this immediately upon logging in.
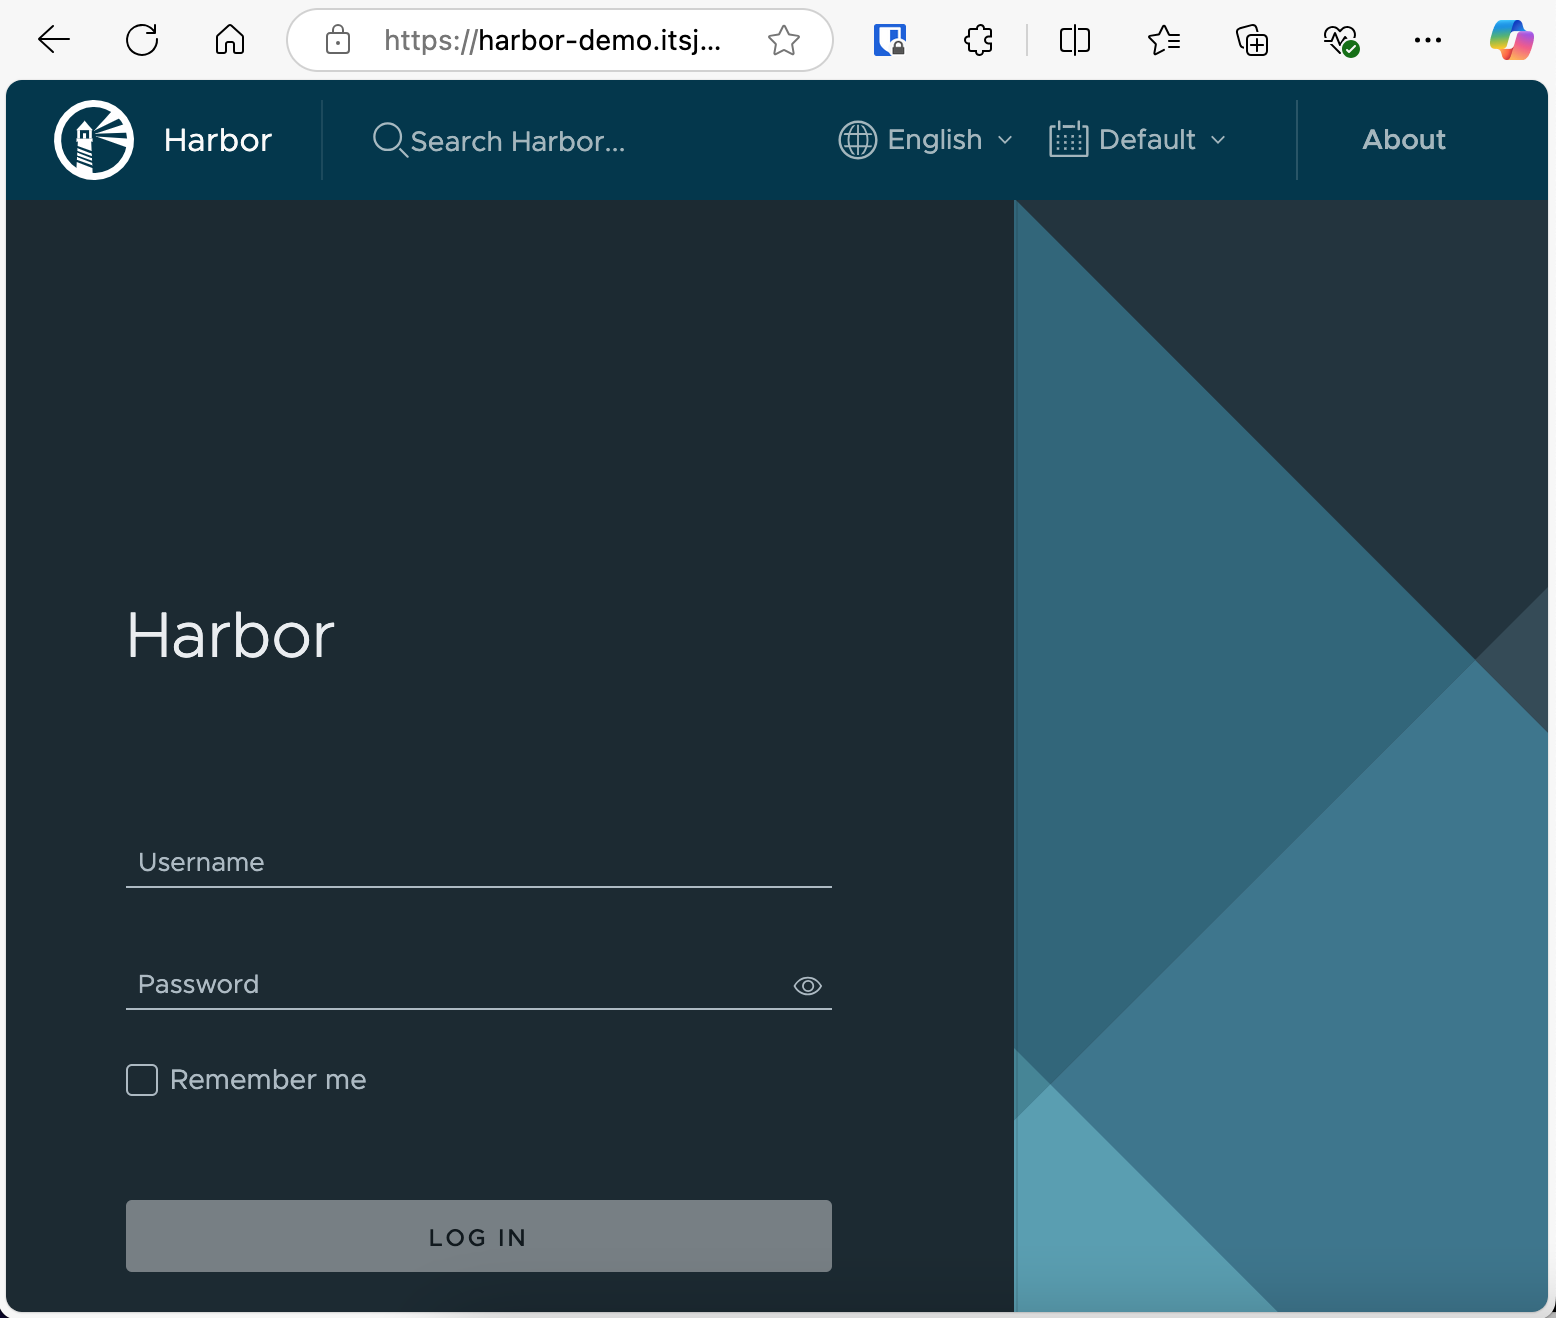
Harbor successfully running, configured with a SSL Cert.
And there we have it. We are now logged in successfully and can begin utilizing our own container registry immediately.
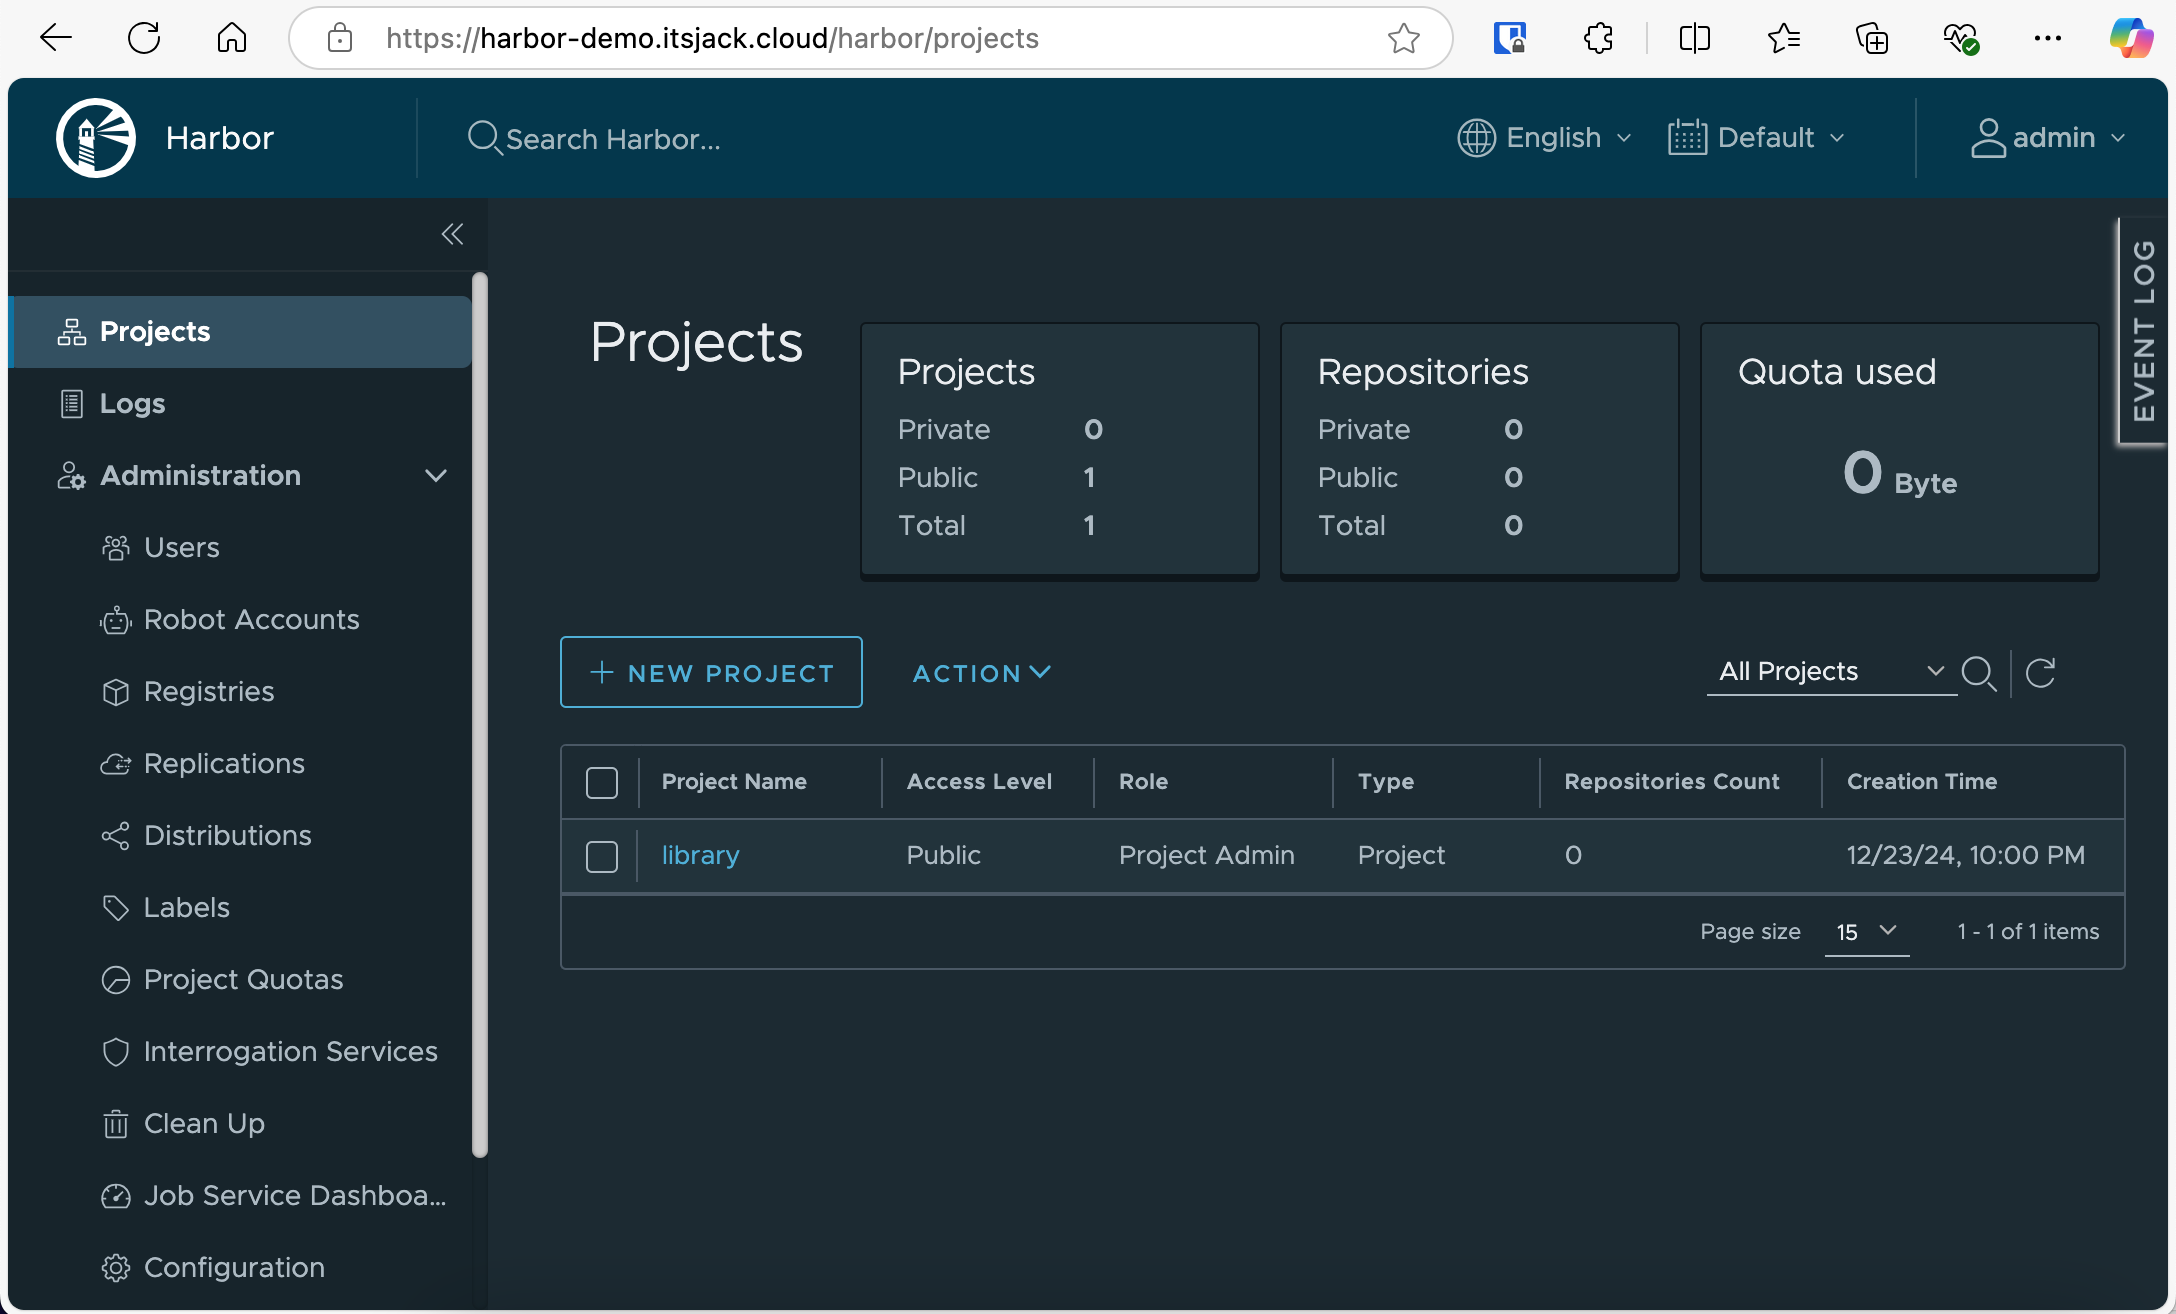
Successfully logged into Harbor.
In conclusion, Harbor is an excellent registry with a small learning curve and robust enterprise features, making it an ideal choice for both production and personal use.